is there a simple way to assign the same scatter model to all surfaces/faces of a CAD object in Non-sequntial mode. My object has 50 faces, if I modfiy it in CAd and re-import I don't want have to re-assign face by face the same scatter model.

is there a simple way to assign the same scatter model to all surfaces/faces of a CAD object in Non-sequntial mode. My object has 50 faces, if I modfiy it in CAd and re-import I don't want have to re-assign face by face the same scatter model.
Best answer by Berta.Bernad
Hi Joel,
Yes, there is a couple of choices. The first one is to save the Scattering Data using a Profile:
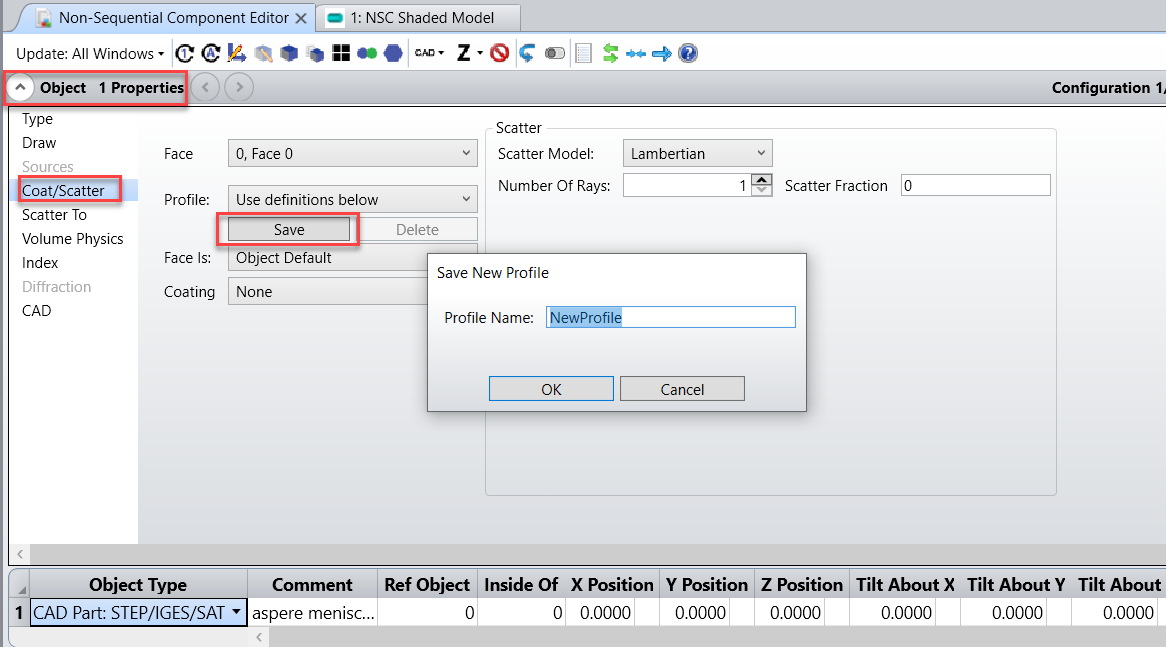
A profile is a collection of settings related to the thin film coatings and scattering model data applied to an object face. Suppose that many objects in your optical system have the same coating and scattering properties. Rather than type this identical data in for each object and face; the data may be typed in once, then saved to a profile. Once saved, any other object face may use the same profile.
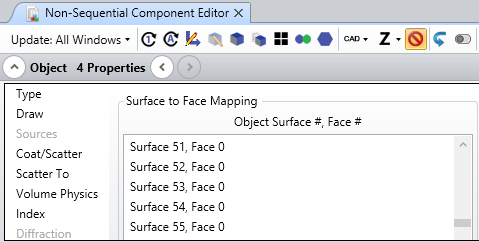
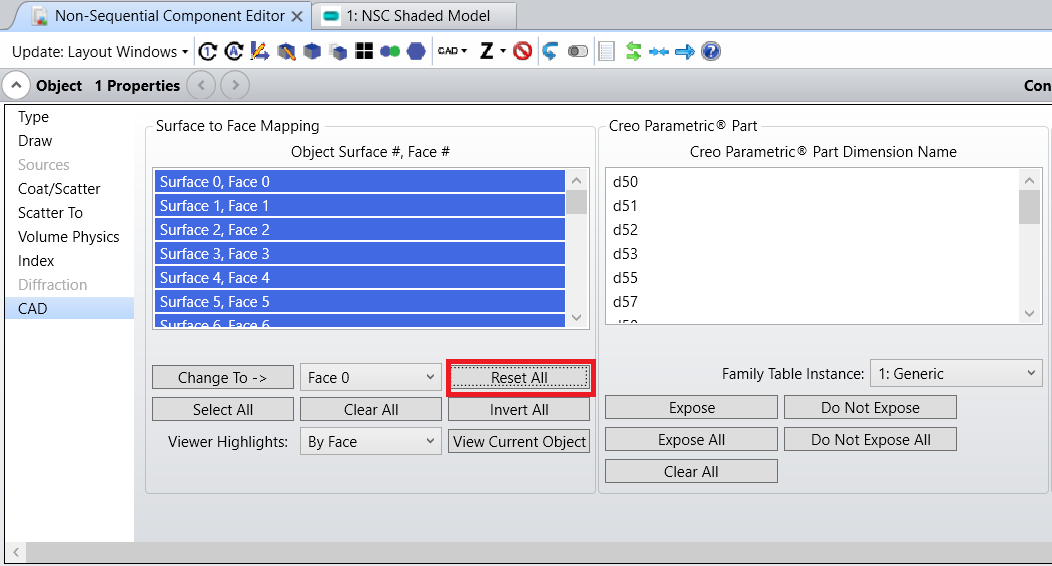
Another possibility is changing the faces definition. To do this, open the Object Properties for the CAD object, and navigate to the CAD tab. Here, you can see the list of all the CAD surfaces in the Surface to Face Mapping dialog box:
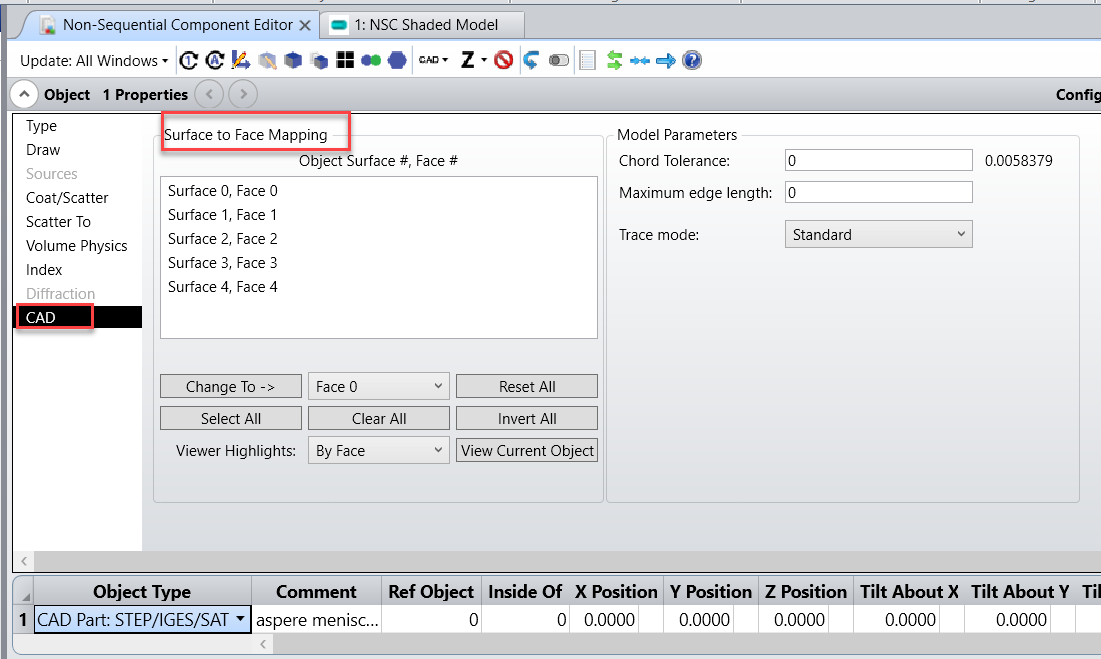
Press select all and then press the Change to -> button to change all CAD surfaces to be associated with Face 0. Now, all surfaces of the object have the same face number, so you can go to the Coat/Scatter tab and apply the Scattering model of your choice just once.
I hope it helps!
Berta
Enter your E-mail address. We'll send you an e-mail with instructions to reset your password.
Do not provide any information or data that is restricted by applicable law, including by the People’s Republic of China’s Cybersecurity and Data Security Laws ( e.g., Important Data, National Core Data, etc.).
不要提供任何受适用法律,包括中华人民共和国的网络安全和数据安全法限制的信息或数据(如重要数据、国家核心数据等)。