I want to model a micro-lens array in NSC mode (clear aperture < pitch). I tried to use normal lens and array, but this create an array of lens with cylindrical sides (the space between two adjacent lenses is air) which will introduce TIR when AOI of rays exceed critical angle. In real case, the micro-lens array has one side flat and the other side an array of aspherical lenses with circular clear aperture, the substrate of the micro-lens array is a continuous slab so TIR won't happen between neighboring lenses (the space between two adjacent lenses is the lens substrate). How could I model the real case more accurately so TIR won't happen when light enter from one lens to the neighboring lens? I initially tried to use the lenslet array 1, but it has rectangular-shaped lens which is also not the same as what I want to model.
Modeling lens array in NSC that has continuous boundaries between adjacent lenses
Best answer by Sean Turner
Hello,
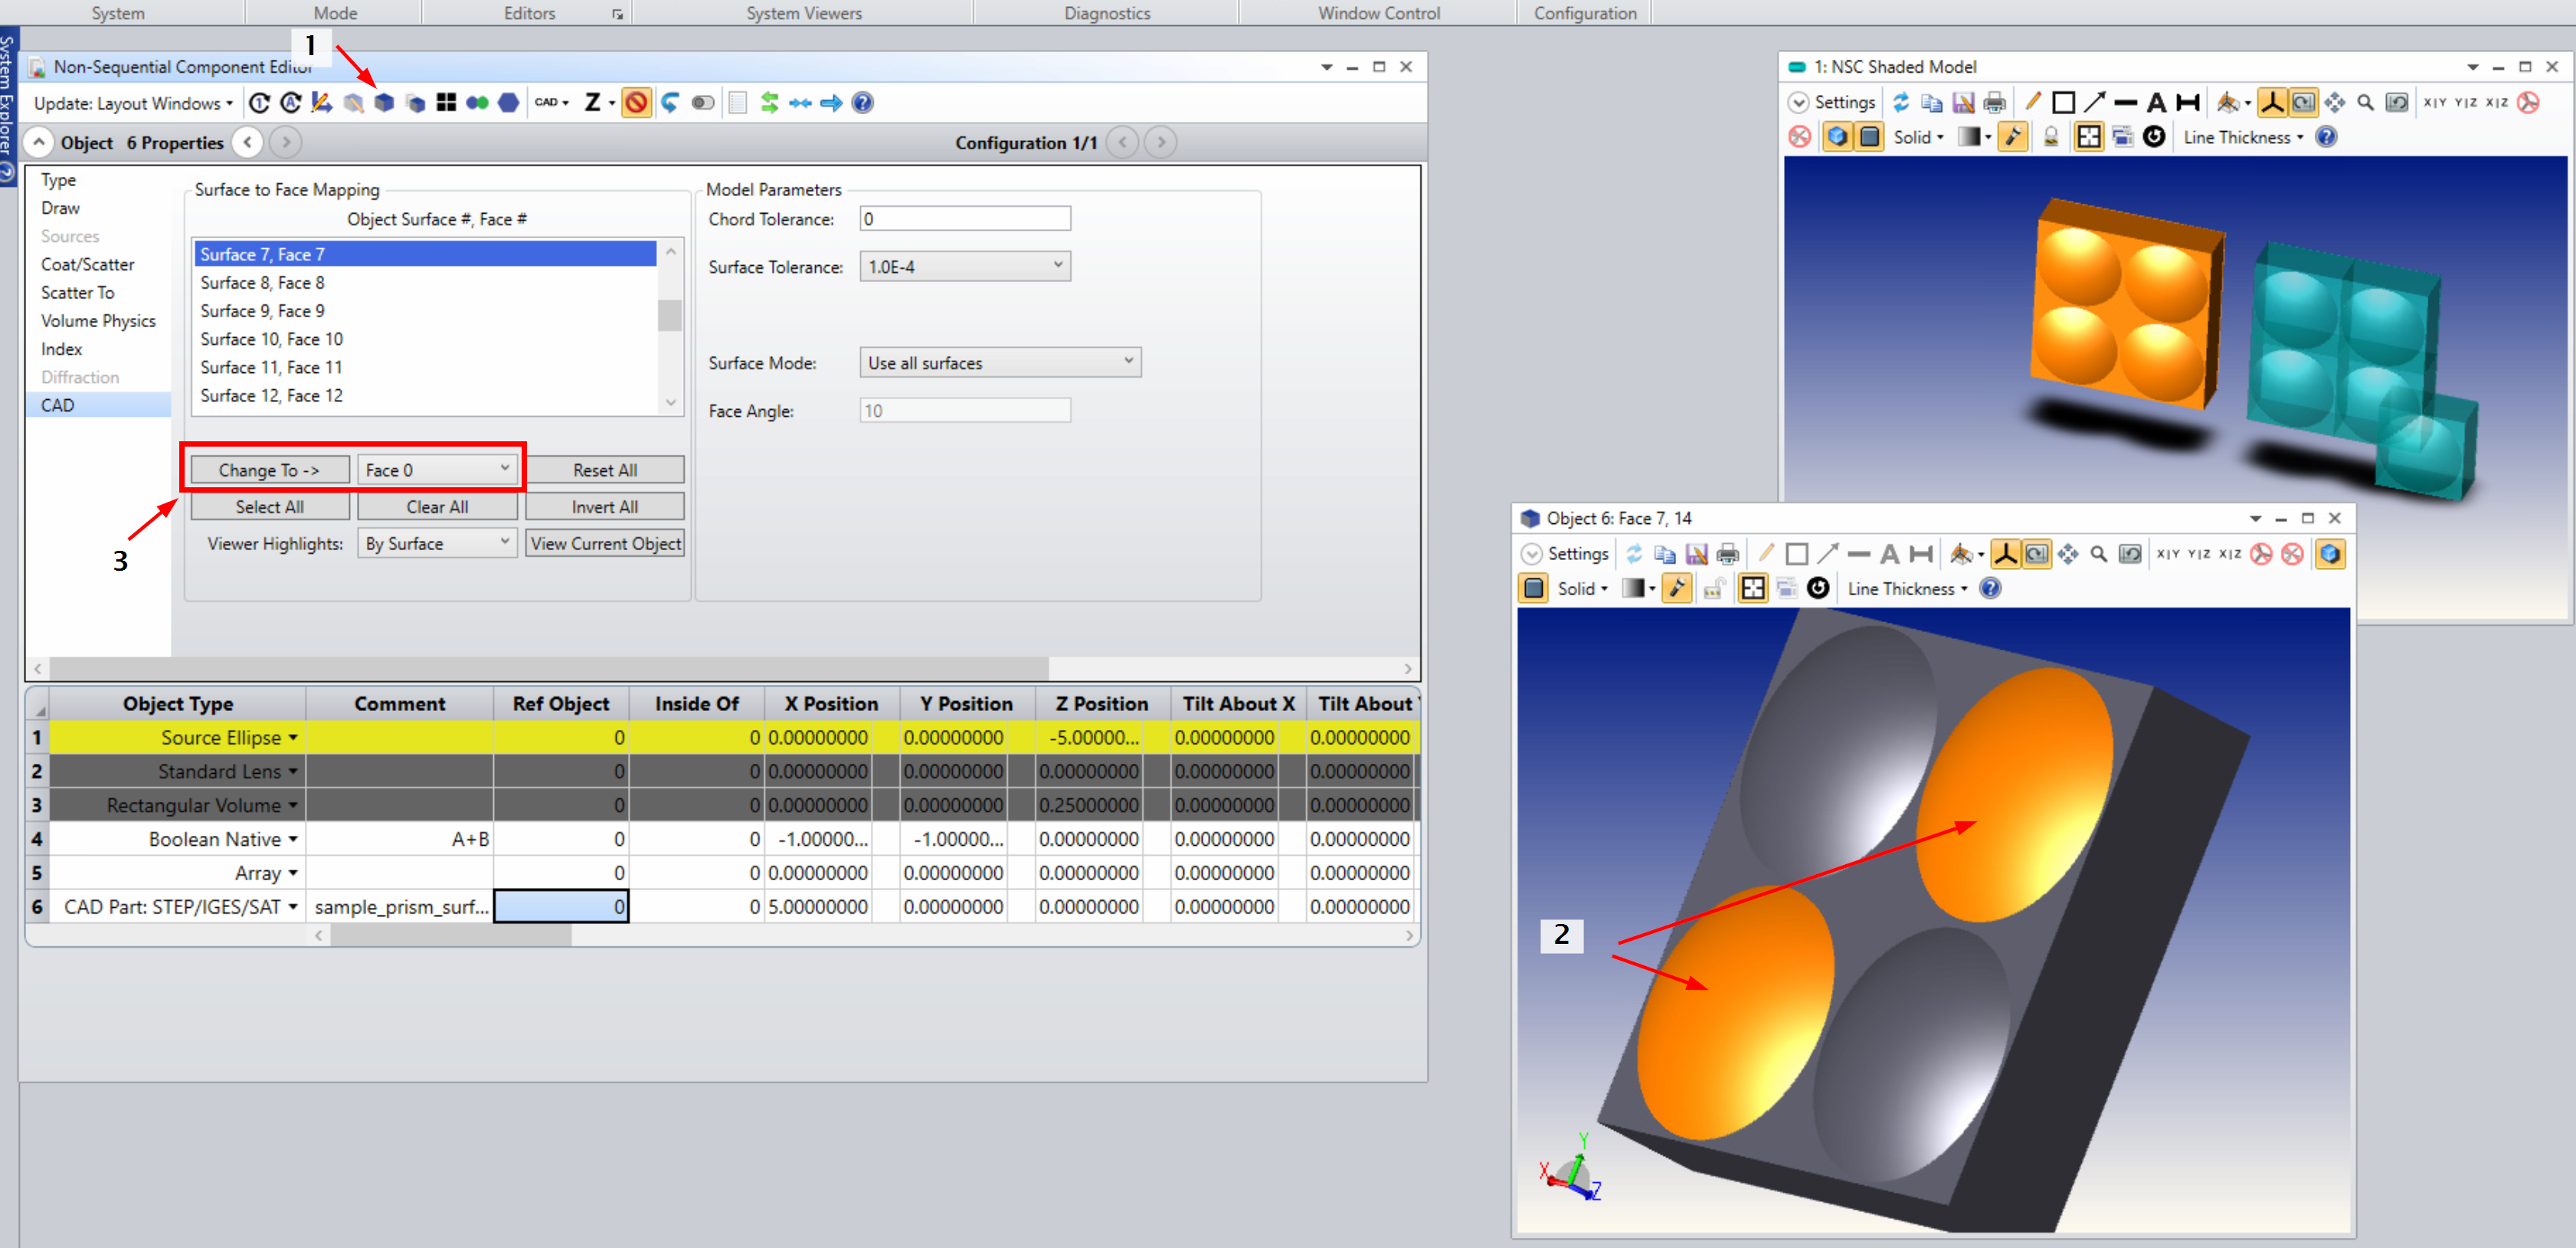
I am currently modeling a microlens array like this, and here is my solution using boolean operations. I would like to hear if there are other approaches.
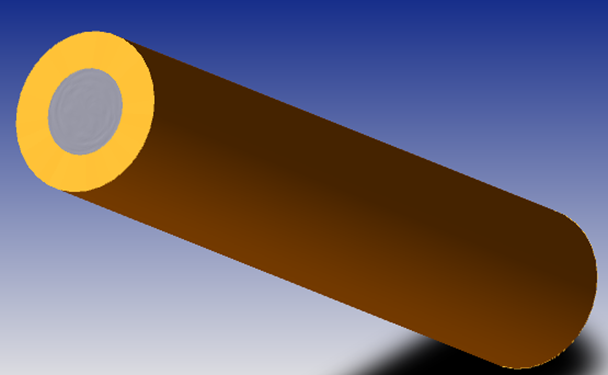
First I created a standard lens object. This allows me to create the aspheric surface with the circular clear aperture I desire. Edge radius is oversized at this point to allow for boolean addition later. Length is equal to the thickness of the microlens array substrate.

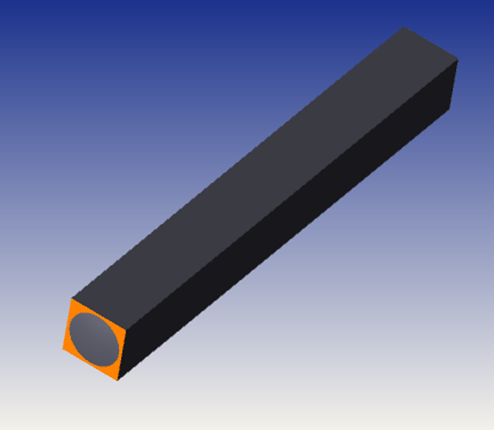
Next I created a rectangular volume to define the X and Y pitch of the individual element. This should fit inside the cylinder from step 1. Z length for the rectangular volume should be at greater than or equal to the length of the first object.
Then comes the Boolean Native with operation A&B to combine the two. This should leave you with a rectangular object, with a convex surface and circular aperture smaller than the square face.

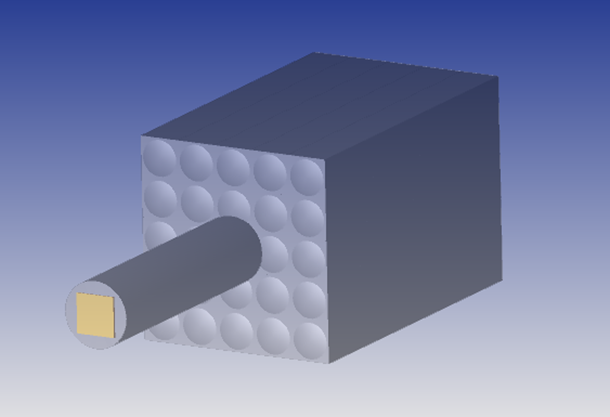
The final step is to use an Array object with the Boolean Native object as the Parent Object. Below I have the rectangular volume highlighted, shown inside the standard lens. Behind them is a 5x5 array of the boolean native object.

I hope that helps.
-Sean
Enter your E-mail address. We'll send you an e-mail with instructions to reset your password.


