

Tech Tip Tuesdays with Zemax: Human Tissue Modeling
In my last article I wrote about the power of custom coatings in OpticStudio, how to create them and the ramifications of model detail. OpticStudio has a lot of breadth, and this allows a user great flexibility when creating a model. In this example, we’ll explore how you can extend a model with simplistic assumptions to a more complex multi-physics model using more realistic conditions or even incorporate measured data.
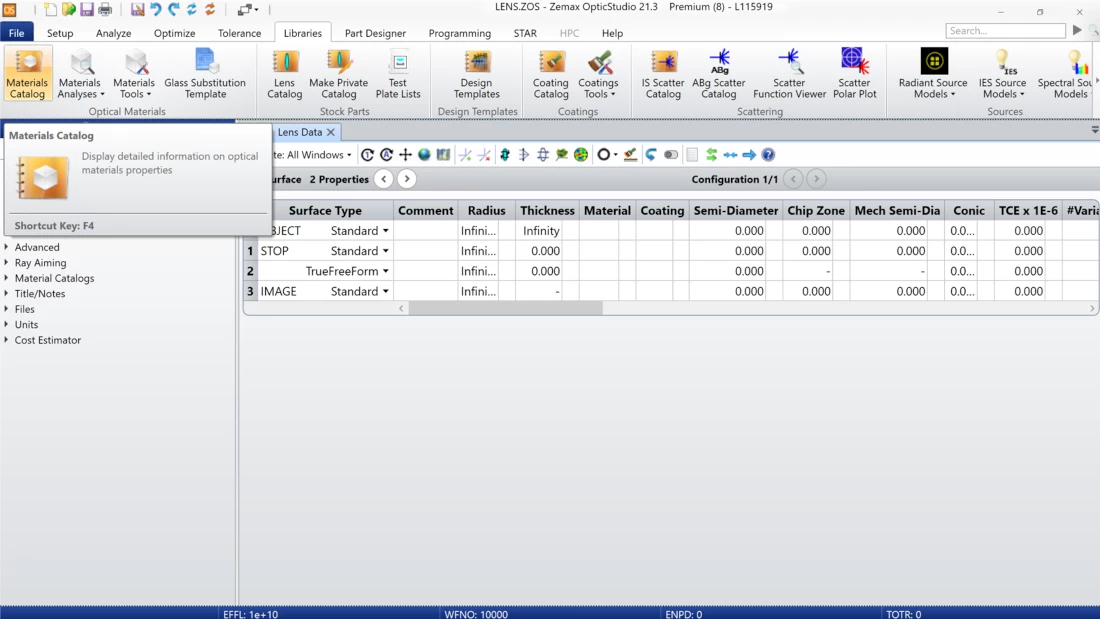
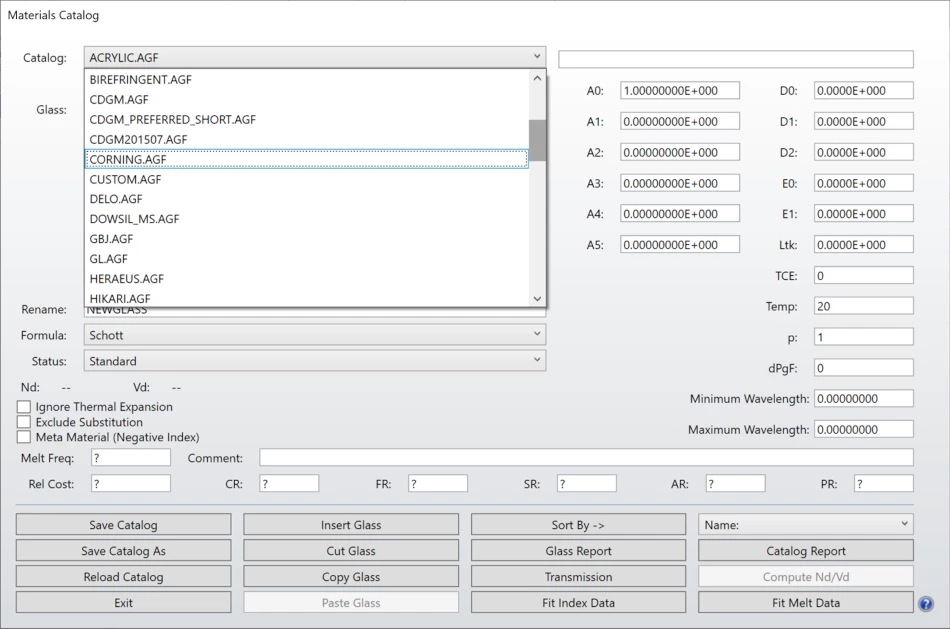
OpticStudio has extensive catalogs of materials and their associated optical properties. Model materials may also be created to address unusual needs not covered by optical catalogs. This allows the user to define custom materials for nearly any discipline, such as heat shields, fiber for lasers, and even human skin. In the case of human skin, each layer can be accounted for independently and the data can be saved as a new material in the catalog, saving time on future projects.
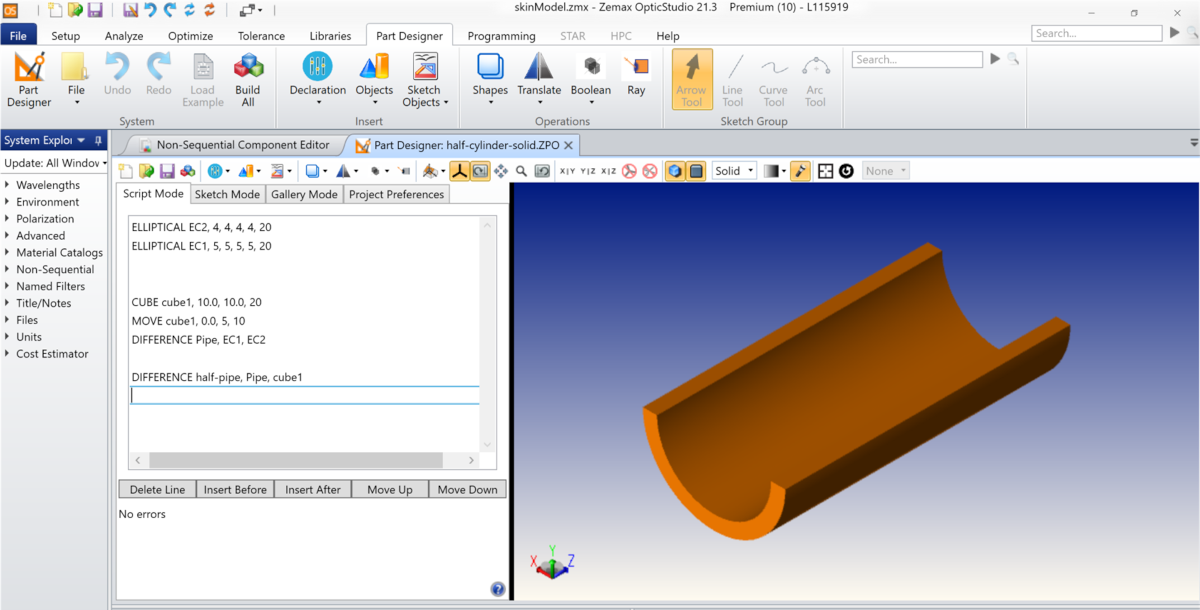
Building material layers in non-sequential mode is similar to building a volume in a CAD platform. The type of object is selected, then the thickness, position and orientation of each layer is defined. In this case a rectangular volume was used for each layer since we were only interested in a small cross section of the body where a heart rate sensor would sit. It is worth noting that more complex shapes can be used if desired, either leveraging the Part Designer in OpticStudio to create a Boolean object or by importing a STEP, IGES or other standard CAD file format for the volume of interest. This can be useful to model the curve of an arm for example, or many other applications.
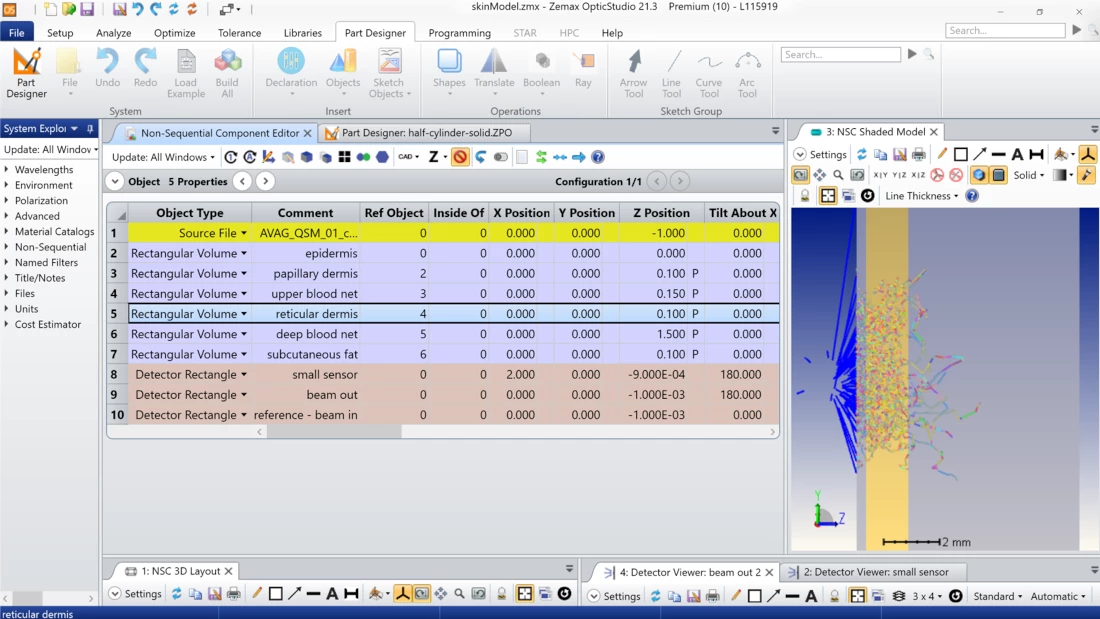
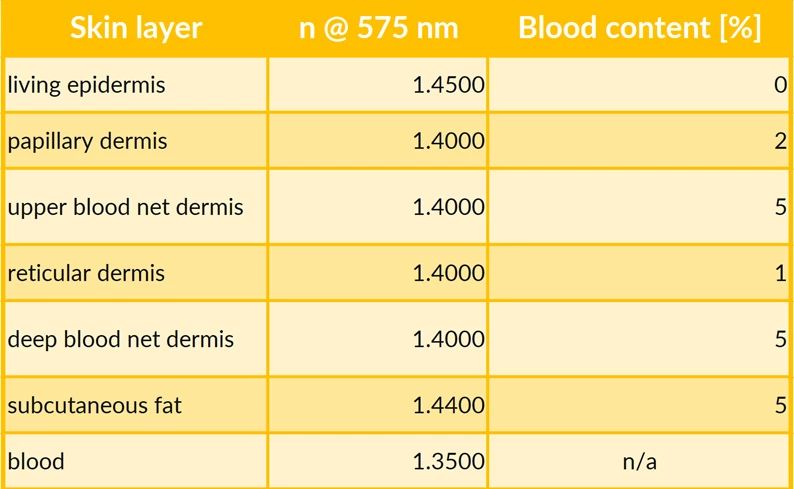
Next, we define the index of refraction for each layer at the given wavelength. In this simple example the indices were generalized from available literature where the blood content was assumed to be evenly distributed throughout the material, and each layer was assumed to be continuous without air gaps, data was averaged for all patients from the available publications. However, for an actual medical application, this could be refined. Leveraging stratified data from larger data sets instead of the averaged data, conducting your own study by collecting lab data from patients or the model could even be tailored for a specific person, giving an individualized model.
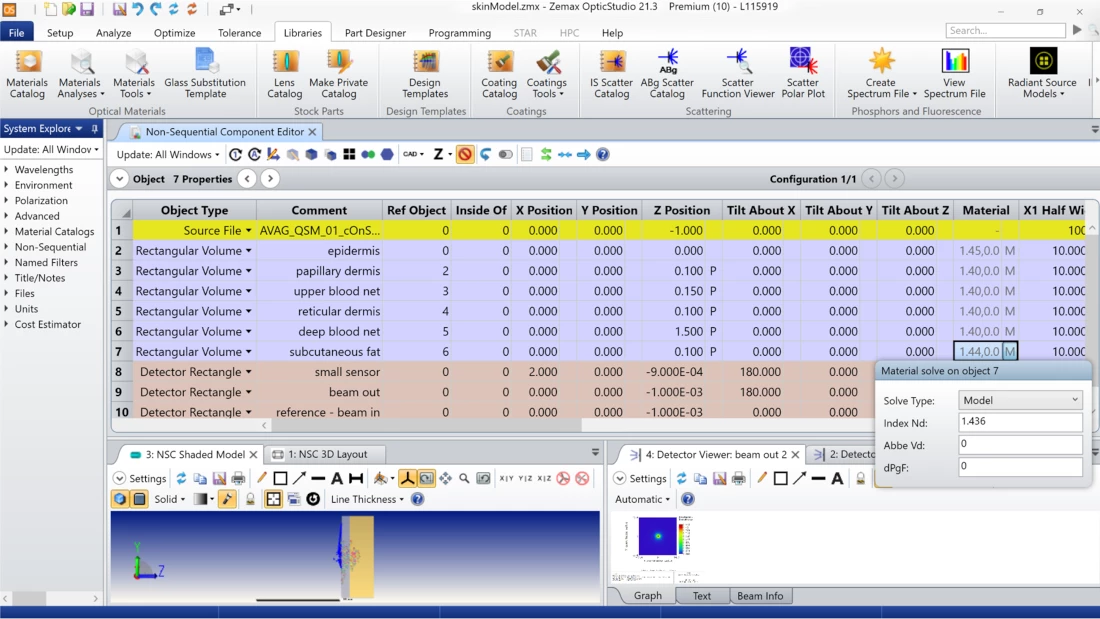
Additionally, an evenly distributed material while good is not as accurate as modeling the actual structures. To gain greater detail, modeling the complex vascular structure and fat cell distribution could be built. This could be done using medical scans and raw data in conjunction with other Ansys tools such as Fluent, Rockwell, or Mechanical then tied back to OpticStudio directly or with OptiSlang. If we were to take this example further, each vein, fat cluster, air gap, etc. would need to be defined. In our case we use the standard table and apply it with the model material solve option in OpticStudio. This will allow us to specify a known index for each layer rather than apply the properties of a given material from a catalog. This provides a good approximation for human tissue without doing a deeper dive.
One final consideration an engineer must make, is what level of detail to use at each stage of their project. This ties workflow, time and resources to the project. With the Ansys suite of tools, the level detail can be varied as the project evolves, allowing an engineer the greatest flexibility throughout the projects lifecycle.
