In this thread, I introduce a user-extension DetectorToTIFF to save Detector Viewers as TIFF images. Presently, the user-extension supports Detector Rectangle, which are saved as monochrome 8-, or 16-bits TIFF images. This user-extension is meant to complement the Output Image File field of the Detector Viewer's settings.
Version
The latest release, v0.8, can be found in my latest reply to this thread.
Installation
To install the user-extension, download the archive DetectorToTIFF.ZIP and extract it on your computer. This archive contains a local version of this thread and the user-extension DetectorToTIFF.EXE, which you must copy to your \Documents\Zemax\ZOS-API\Extensions folder of OpticStudio.
Use
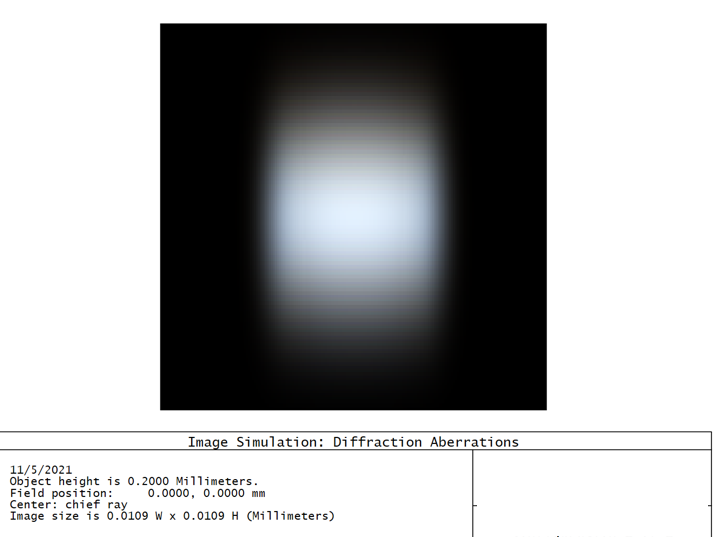
To use the user-extension, open a non-sequential file, such as User aperture sample.zmx from the \Documents\Zemax\Samples\Non-sequential\Miscellaneous folder of OpticStudio. Then, run a ray trace and open a new detector viewer. Set the viewer as any of the present Detector Rectangle and use Show as with either Grey Sclae, Inverse Grey Scale, False Color, or Inverse False Color, as shown in Fig. 1.
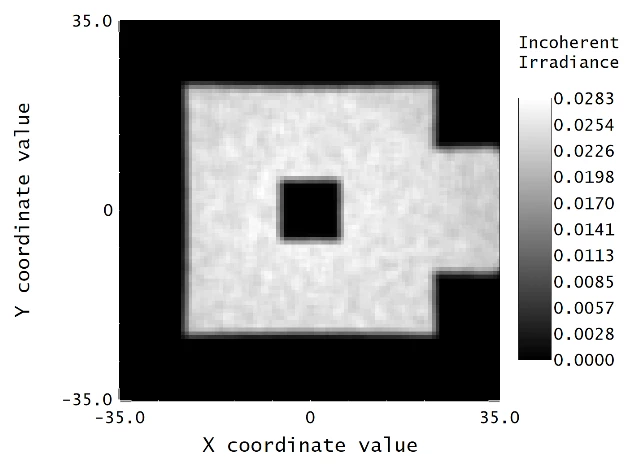
Figure 1. Detector viewer from the User aperture sample file with inverse grey scale display.
Navigate to the Programming tab and open the User-Extension drop-down menu. Select DetectorToTIFF.
Multiple detectors
If you have several Detector Viewers with supported settings open, you may select the one, which you’d like to save by entering the corresponding number in the command window (see Fig. 2).
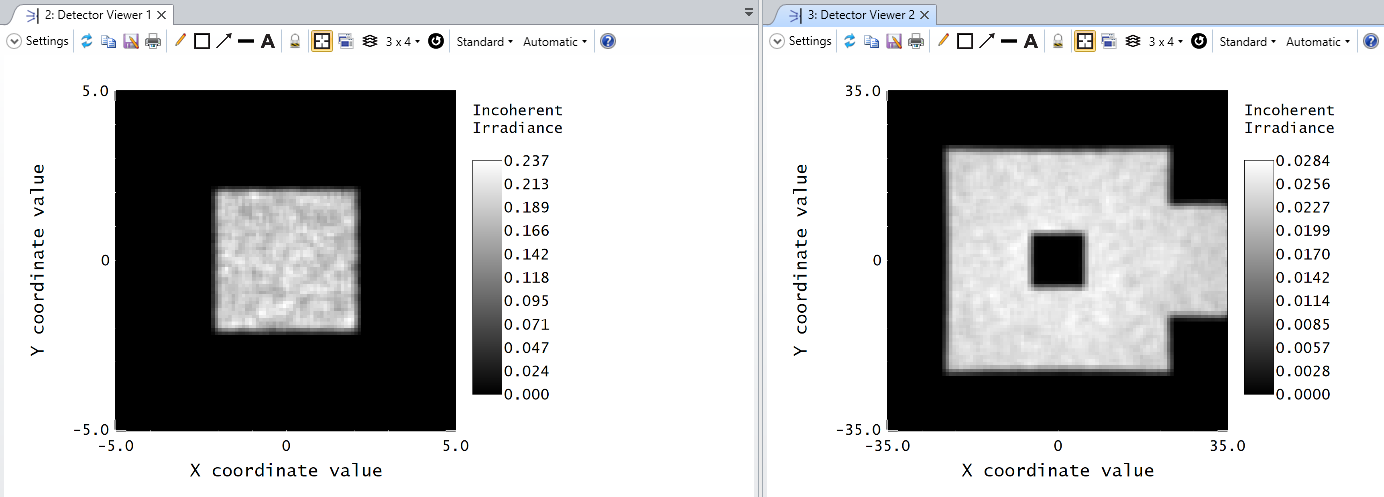
Figure 2. Detector viewers with supported settings in the User aperture sample file. These correspond to analysis window 2 and 3. Their number in the user-extension are 0 and 1 respectively.
The number to input is based on the number of Detector Viewers with supported settings and their window analysis number. In the User aperture sample file, the two Detector Viewers have supported settings and are attributed the numbers 2 and 3 in their analysis window (see Fig. 2). These Detector Viewers are reported as 0 and 1 in the user-extension, respectively, as shown in Fig. 3.

Figure 3. Command window prompting for a detector number.
Detector viewers are always reported as a list of sequential integers starting at zero in the user-extension.
Bit depth
The next setting to input is the bit depth of the saved TIFF image. Presently, 8- and 16-bits are supported. Type the value zero for 8 bits,and one for 16 bits, as shown in Fig. 4.
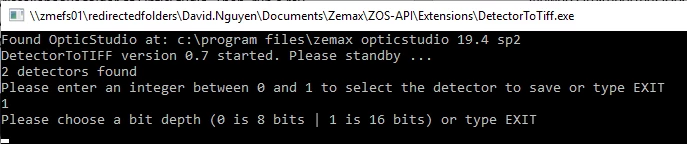
Figure 4. Bit depth selection in the command window.
TIFF images stored using a 8-bits format are smaller in size, but are subject to loss of information during the digitization process. While two images might appear to be the same when saved to 8- and 16- bits, as shown in Fig. 5A and B, respectively. When performing post-processing steps, such as changing the scale to display the logarithm value of the pixels, the loss of information might have a significant effect, as shown in Fig. 5C and D.
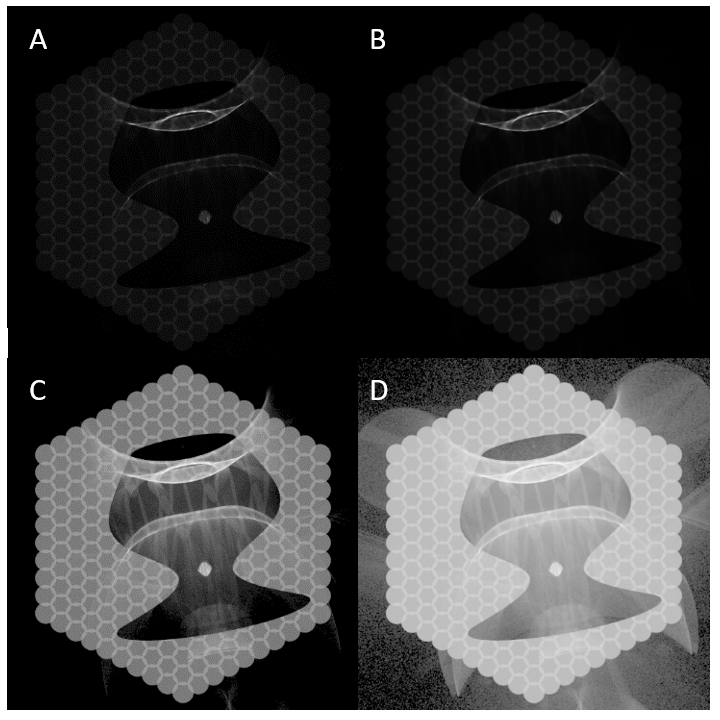
Figure 5. Effect of the bit depth of displaying images with a logarithmic scale. A. 8-bits TIFF image. B. 16-bits TIFF image. C. Corresponding 8-bits TIFF image with a logarithmic scale. D. Corresponding 16-bits TIFF image with a logarithmic scale.
The choice of an appropriate bit depth is left to the user.
Folder
The resulting TIFF image (see Fig. 6) is saved in the same folder as the ZMX file with the same name, only the extension is changed to TIFF.

Figure 6. Resulting 16-bits TIFF image from the User aperture sample file.
At the end of the user-extension, the user is asked to type ENTER to confirm the closure of the command window and the user-extension.
Updates
The DetectorToTIFF user-extension is provided here as it is. It might still contains bugs, and Zemax Technical Support is not covering this user-extension. If you observe any bugs, please report it in this discussion.I am also planning to extend the capabilities of this user extension, here are some of my ideas:
- To support other detectors, such as the Detector Color
- To incorporate other image file formats