When developing a project in Python, it is important to have a clean and isolated environment to avoid conflicts with other packages or dependencies. This is where virtual environments come in handy. In this guide, I will show you how to set up a virtual environment for a project in PyCharm.
Step 1: Install Virtualenv in Command Prompt
pip install virtualenv
Step 2: Create a new PyCharm project
Create a new PyCharm project through File > New Project.
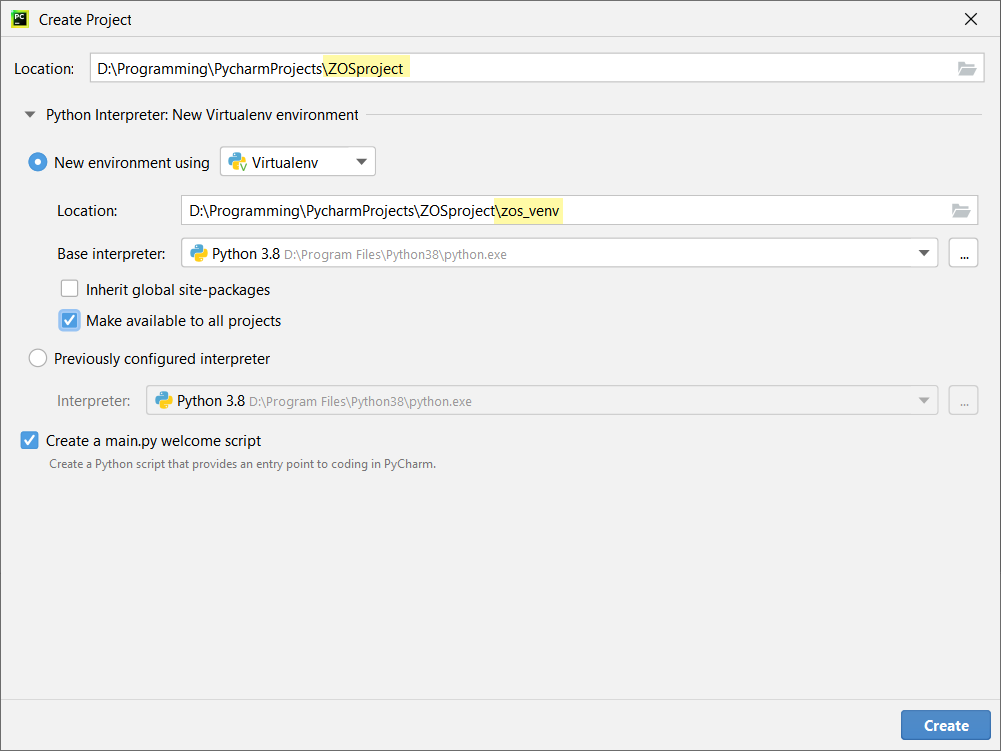
check the right bottom interpreter is the one you created just now, in this case(zos_venv)
Step 3: Configure the new virtual environment
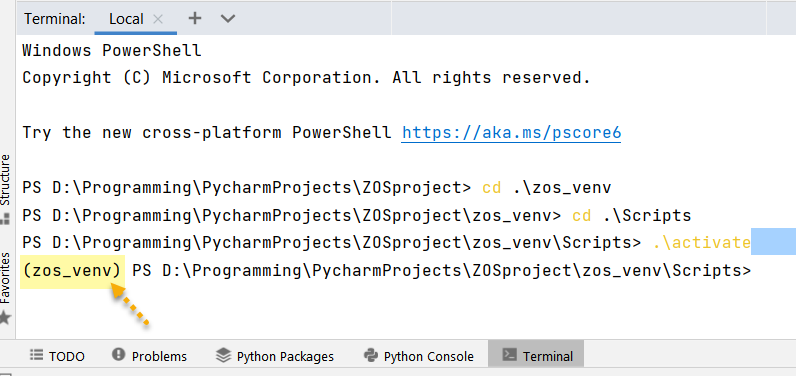
- Open the terminal by clicking on the Terminal tab at the bottom of the screen.
- To activate the virtual environment, navigate to the location of the virtual environment in the terminal using the cd command. Once you are in the correct directory, you can activate the virtual environment
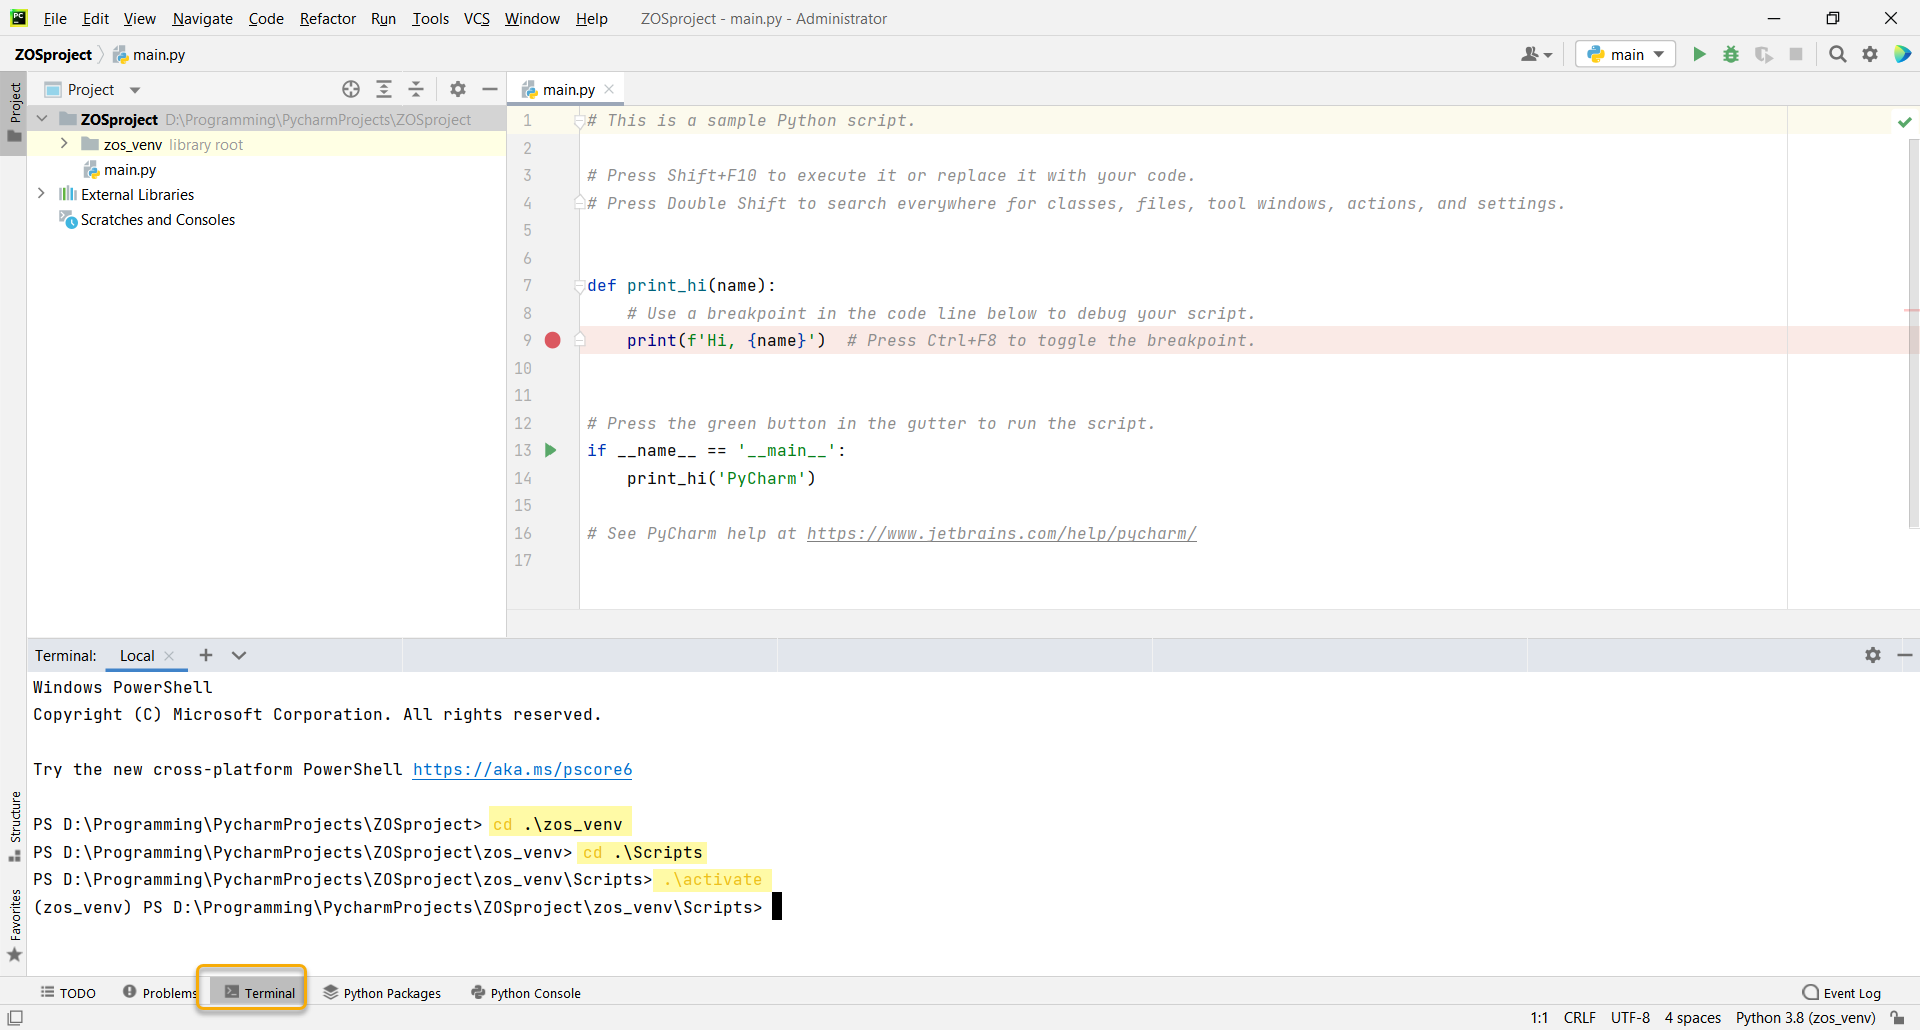
cd .\zos_venv
cd .\Scripts
.\activate
Step 4: Configure the new virtual environment
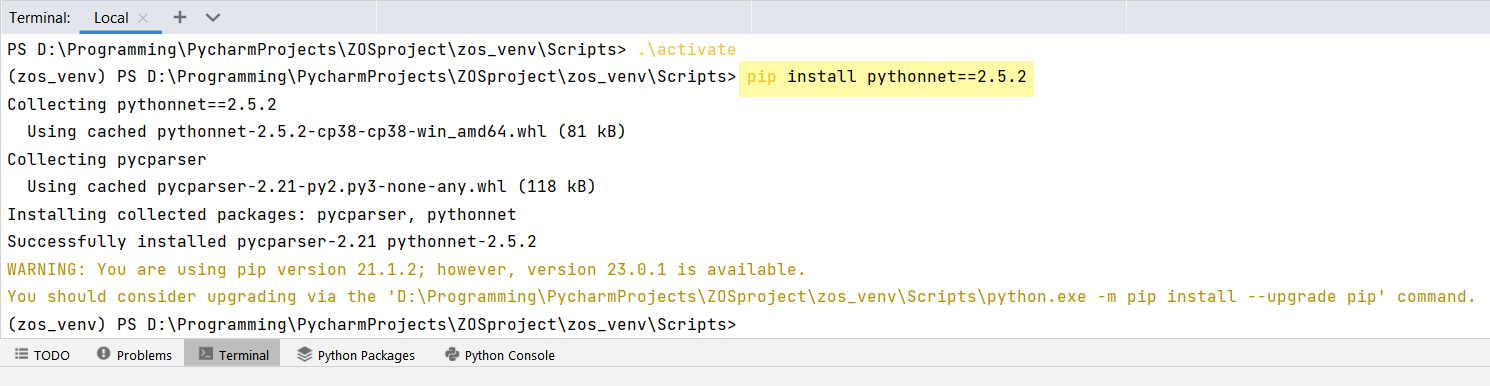
The environment name (in this case zos_venv) appear in the terminal, now you are in the virtual environment named zos_venv and can use pip to install necessary dependencies
pip install pythonnet==2.5.2
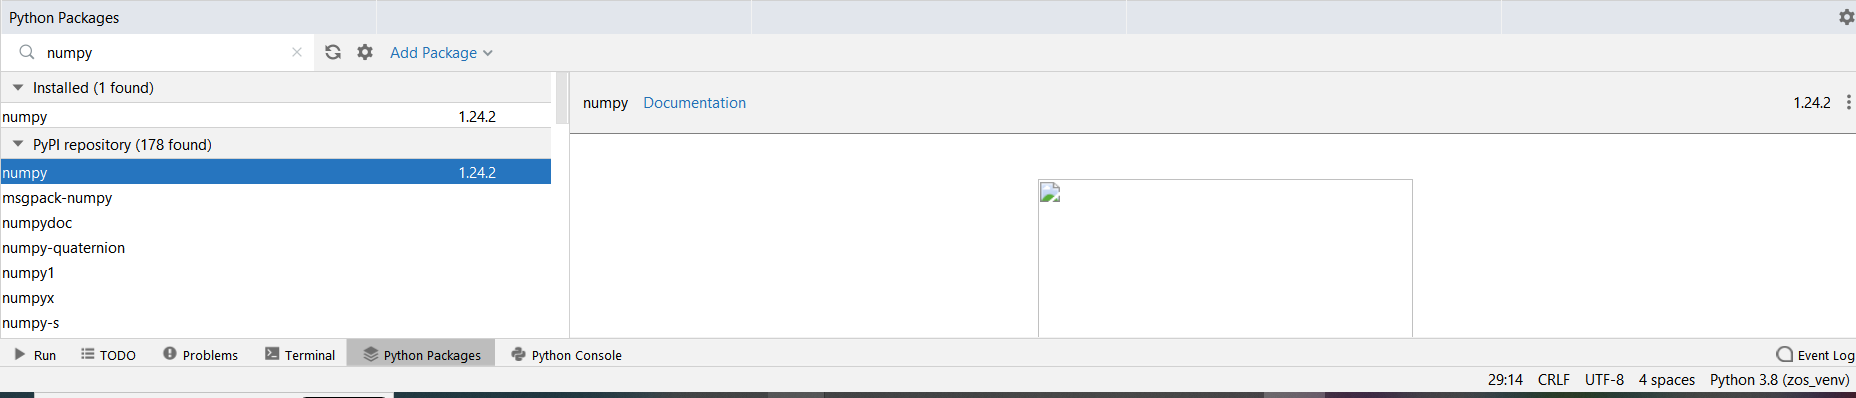
Or find the packages from the bottom tool bar: