Like the exit pupil, the entrance pupil can be found using real rays; rays at different field angles must cross at any internal pupil of the system. Adding a dummy surface at the location of the entrance pupil allows us to place optimization operands on that surface, to control location, diameter, tilt, etc. of the entrance pupil. Finding the entrance pupils is especially useful in the case of wide-angle systems, where the entrance pupil may be decentered and tilted, leading to images that are significantly darker at the edges.
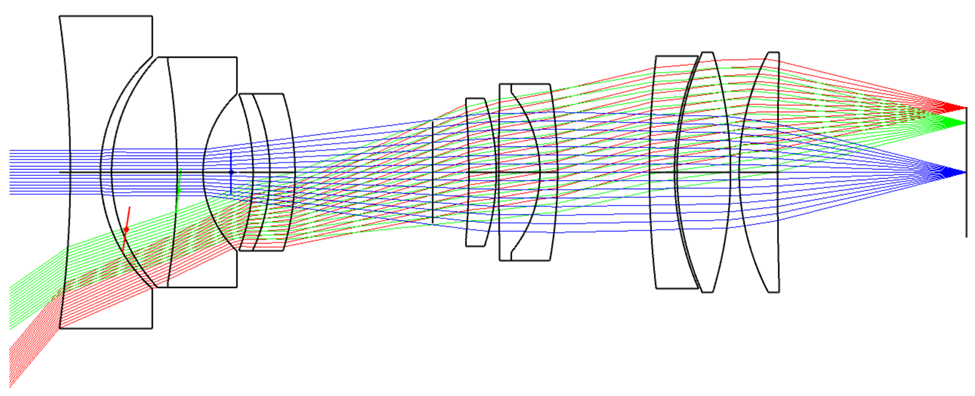
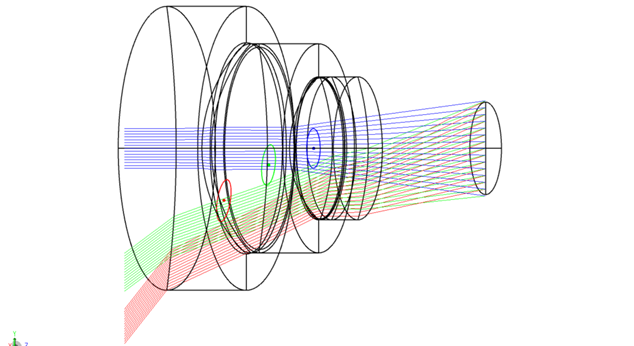
In the wide-angle system shown below, the full field of view is 100 degrees and the stop is in the center of the system, as shown below. Using the Draw Real Entrance Pupil option in the 3D Viewer shows that the entrance pupil moves down and to the left with increasing field angle.
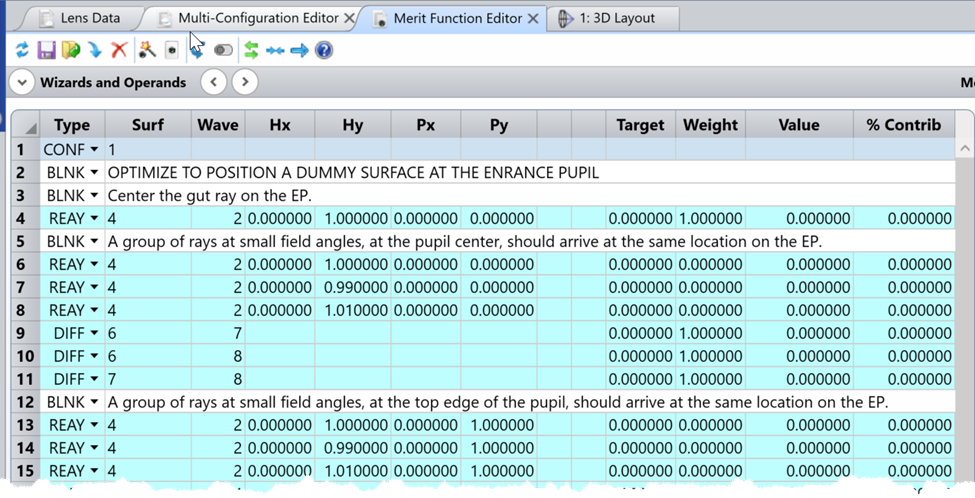
Below, I’ve set up a system to place a dummy surface at the entrance pupils, for each field angle. (The positions shown don’t agree exactly with the pupils shown by the Draw Real Entrance Pupil option, which uses a more sophisticated algorithm than the simple Merit Function that I’ve set up here. More importantly, pupils are generally aberrated / out of focus, so that no precise location for the pupil exists and we must just minimize the “spot size” across field angle at the location of the pupil surface.)
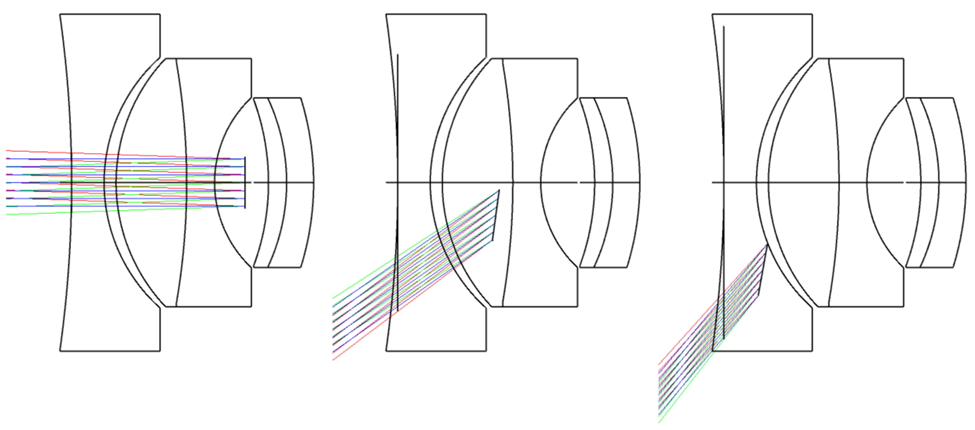
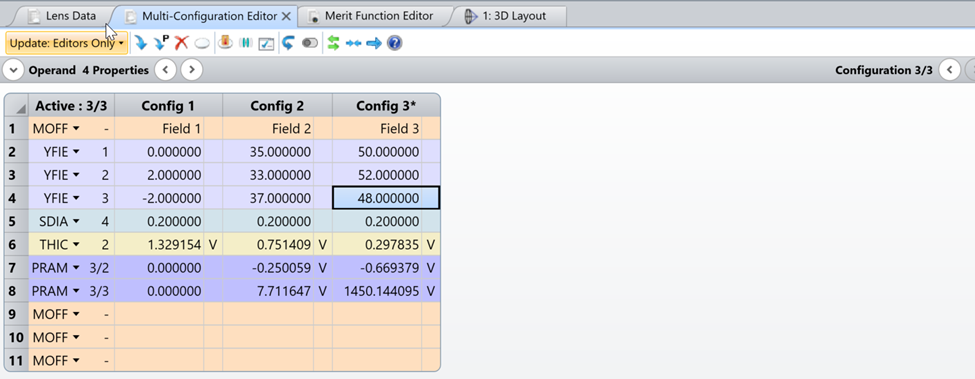
Because there is significant movement of the pupil as a function of field, I’ve converted this into a Multi-Configuration system with one field in each configuration. That allows me to position the entrance pupil in a different location for each field angle considered.
To allow the entrance pupil surface to move, I’ve used the Tilt Decenter button on the Lens Data Editor to place coordinate breaks around the Entrance Pupil surface. And the thickness to the entrance pupil is reversed in line 5.
I set up the Merit Function so that rays at slightly different field angles must meet at the pupil surface, and optimized to position the dummy surface at the entrance pupil for each field angle.

