Solved

How to tilt object plane in Scheimpflug setup?

  • 26 June 2024
  • 6 replies
  • 261 views

Hi,


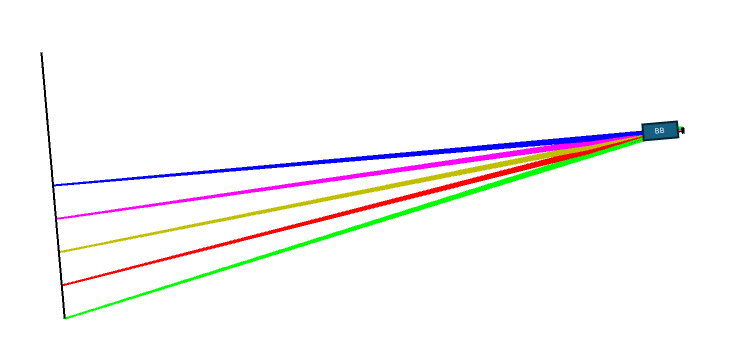
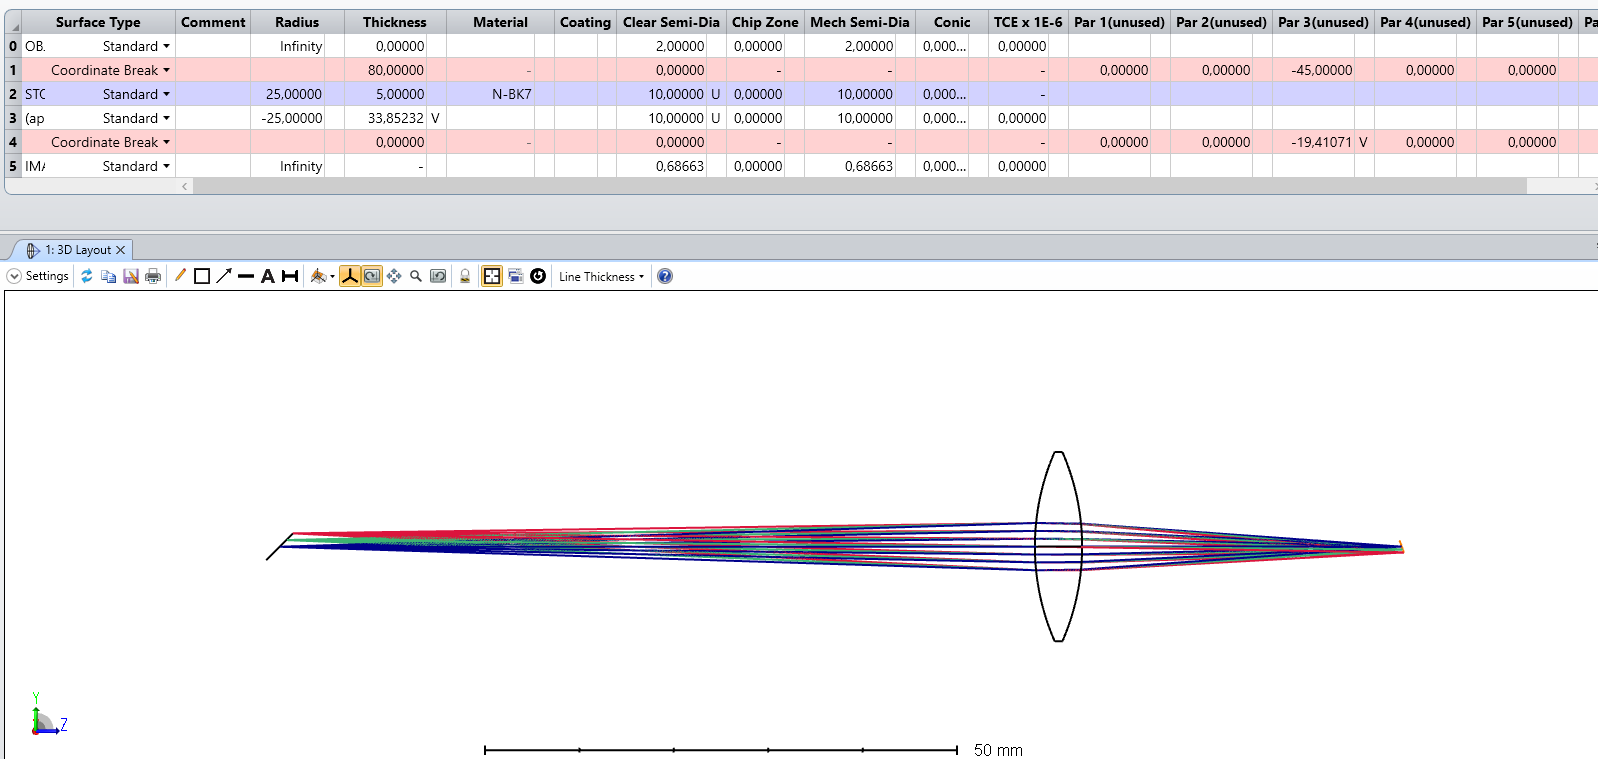
I am currently trying to simulate a simple Scheimpflug setup. I know the angle between image plane and principal plane ( β ) and want to find the angle between object plane and second principal plane (alpha). I set up my system with a BB floating lens system with aperture “float by stop size” and real image height as my field.


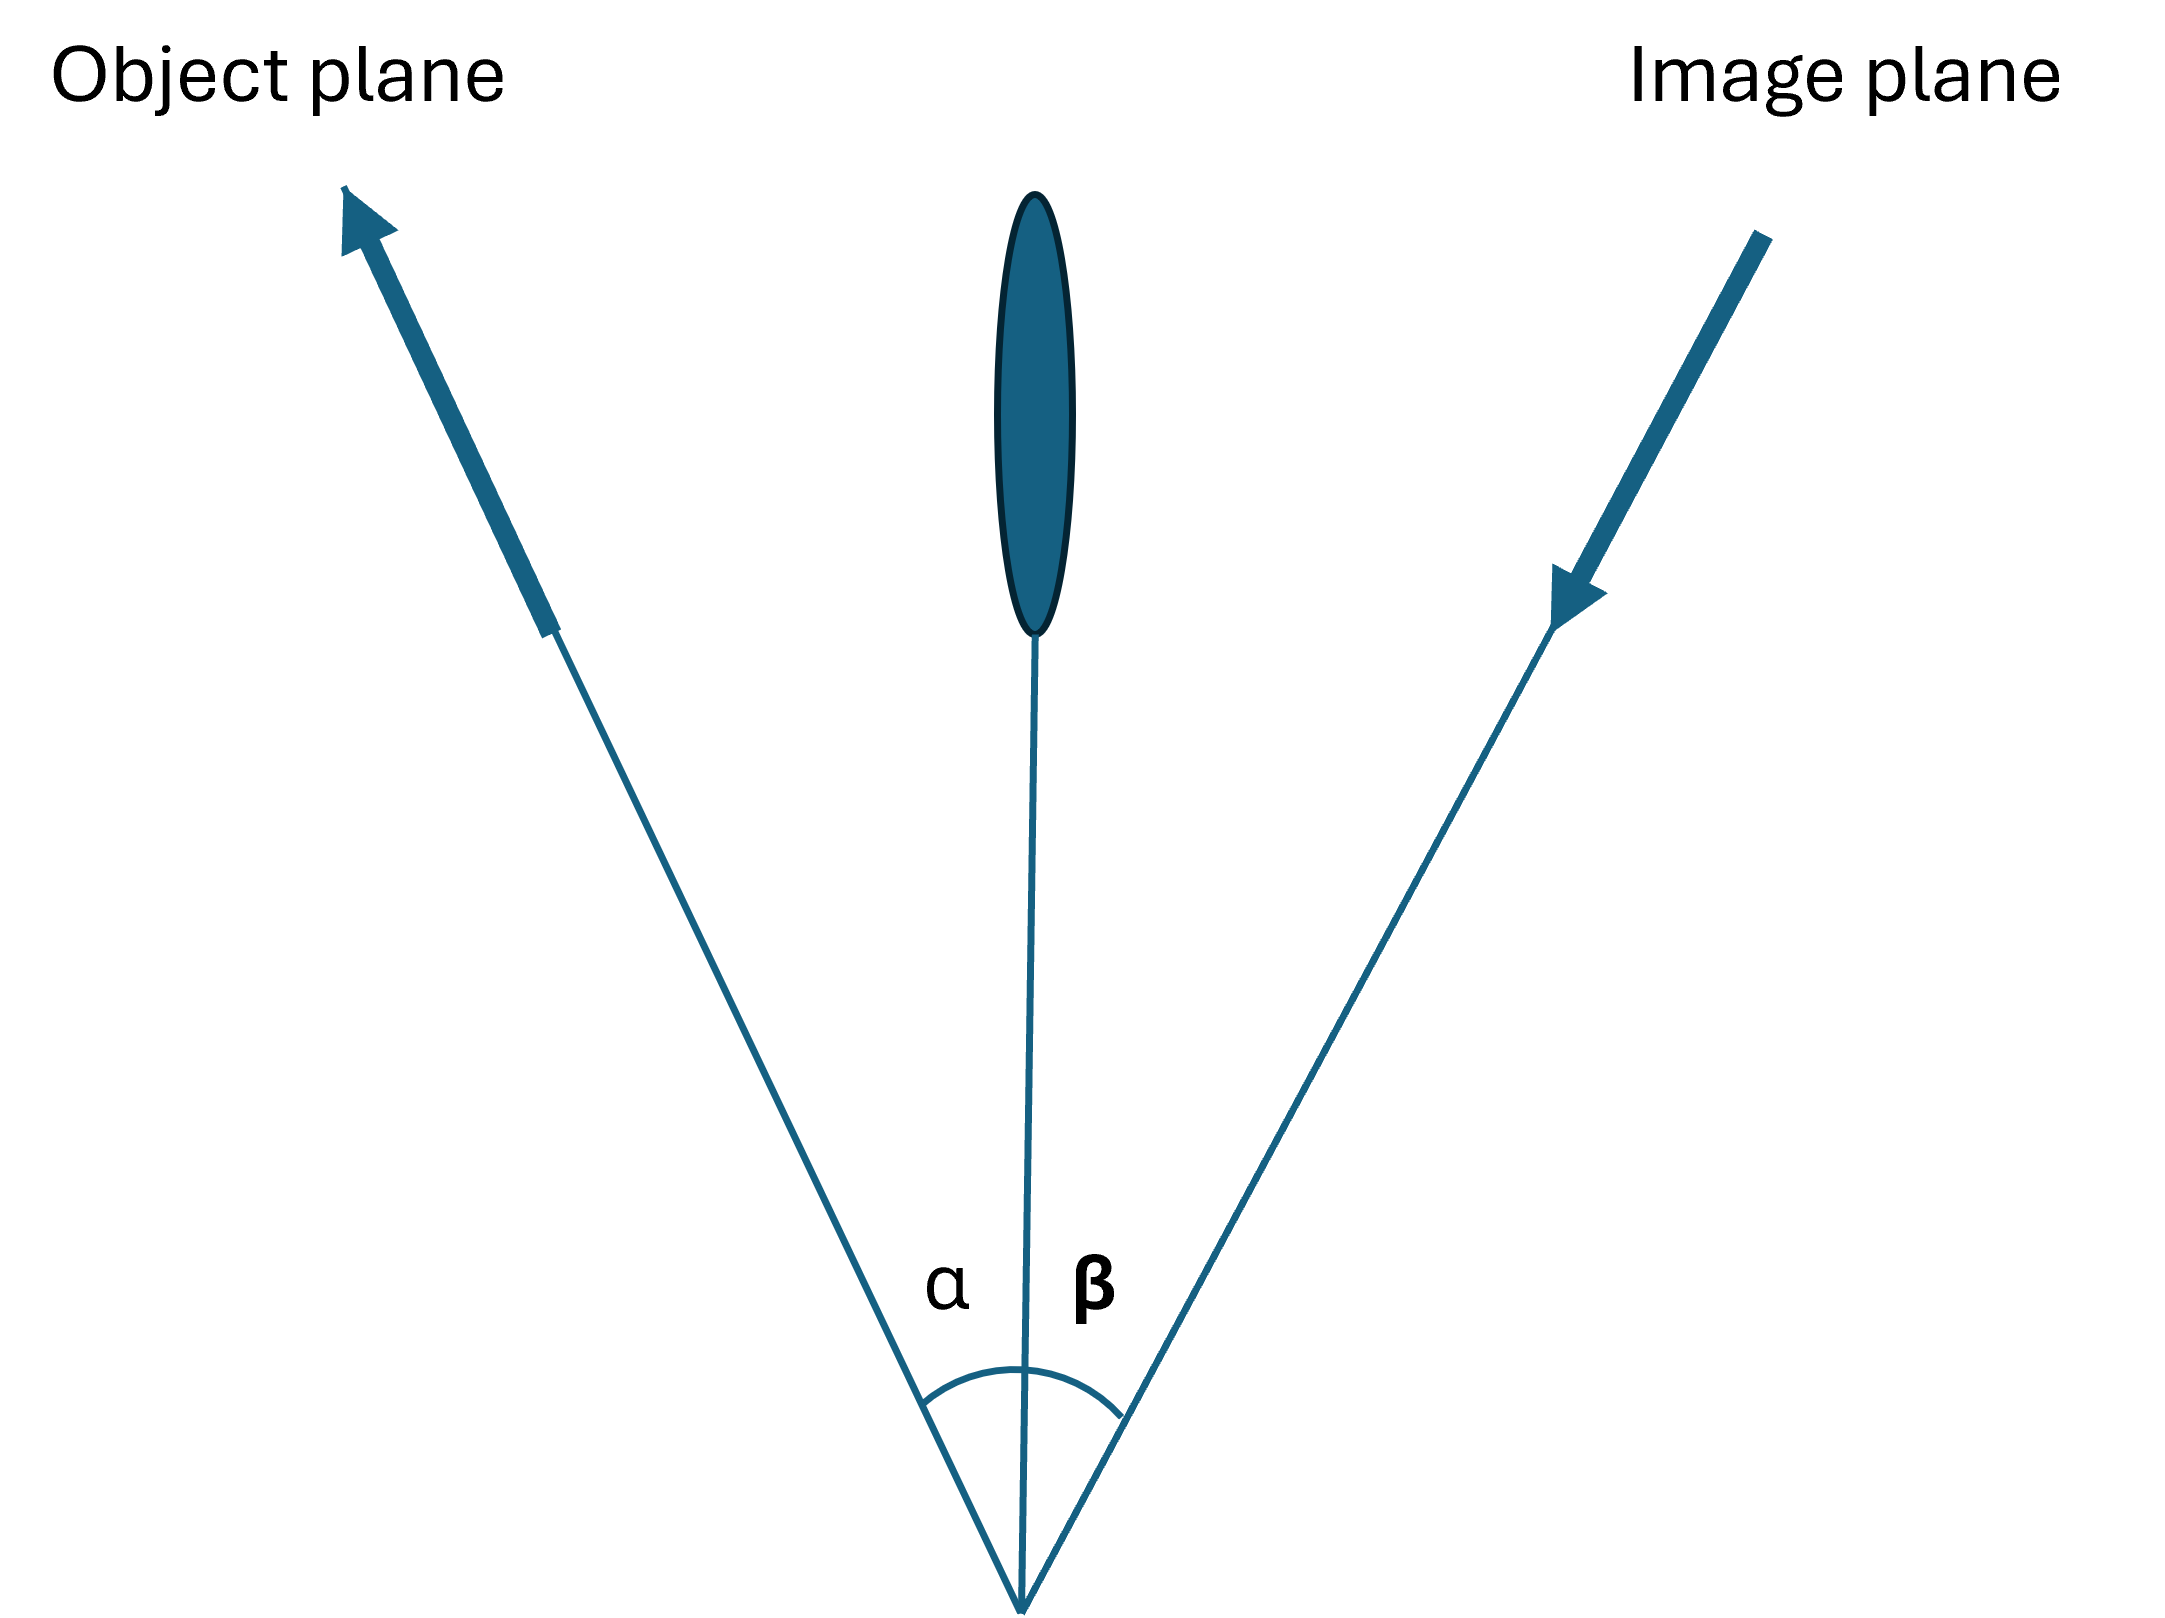
In Zemax I inserted a coordinate break directly before the image and set the Tilt X to my angle β. The idea was that I could now use the optimization to determine the angle of my image plane. However, I do not find the correct way to tilt my object plane.

I tried putting a coordinate break onto the object plane (using negative thickness after the object) but that doesn’t seem to be correct. Also, I tried to use VDX, VDY, TAN with no success.

Could someone please give me a hint how I can setup a Scheimplug setup where I can get the angle of the sharpness plane?


6 replies

Hi Lauritz,


the easiest way is to use the “Tilted” Surface-Type.

You can also use Coordinate Breaks, but since you rotate away your entrance pupil you should activate ray aiming.


The first one is computationally faster since you don’t necessarily need ray aiming. However, be careful with field heights when using tilted surface. The tilted surface uses the projected field height from the untilted surface. So it is more compared to using coordinate breaks, depending on the tilt angle. I set the field heights in both scenarios to 2mm resulting in 0.92 and 0.67 image height.

Oli

Hi Oli,


Thanks a lot for your great answer. When I turn ray aiming on this issue is indeed resolved.

Unfortunately, now I have another issue. In my setup, as soon as my object distance is above a certain value my system crashes with the message “Cannot find rays to yield requested image height”. I can even reproduce this when I insert a single lens with the same focal length instead of my optical system. In the attached file (“Scheimpflug-Setup-25_Singlet”) when I set surface 2 thickness to 980mm it gives no error. When I increase it to e.g. 1000mm I get an error.

I do not get this error when replacing the lens with a paraxial lens (“Scheimpflug-Setup-25_Paraxial”).

I already tried to change fields and aperture with no success.

Does anyone have a suggestion why this is not working?

P.S.: The angle in the attached file is set to 23° but should instead be 90°-23°=67°.

Hi,

I changed the files as attached. I think this is a better representation of my setup but I still have the same issues.

Userlevel 7
Badge +3

@Lauritz.Hartmann:

I think the reason you are encountering the error (once the object distance becomes larger than some threshold) is because the required pupil shift for ray aiming becomes too large and falls outside the “automatically calculated” ray aiming capture zone.  As noted in the help documentation for ray aiming:


Recall that Zemax ignores coordinate breaks for paraxial purposes.  It’s straightforward to calculate the required pupil shift in going from the paraxial pupil center to the real pupil center.  If you manually enter the pupil shift values, then for large object distances (i.e., large Z0) the ray aiming should work properly without returning an error.


Note that these initial shift values don’t have to be exact, but instead just close enough to fall within the ray aiming capture region.

That being said, personally I would use the “Tilted” surface for your problem (for object and image planes) and avoid the issues associated with ray aiming.  In this case, as @O..Schepp notes, you would need to scale the field and image point coordinates if you want their values expressed in the local tilted surface coordinate systems.

Regards,

Jeff

Hi Jeff,

Thank you so much! I saw the the pupil shifts seemed to be off, but couldn’t find a value Zemax could work with.

As you and O..Schepp suggested I tried the Tilted surface and it worked without any problems. I will stick with this solution.

Again, thank you very much. I spent so much time trying to solve the issue, it’s a big relief finally having a solution.


Reply