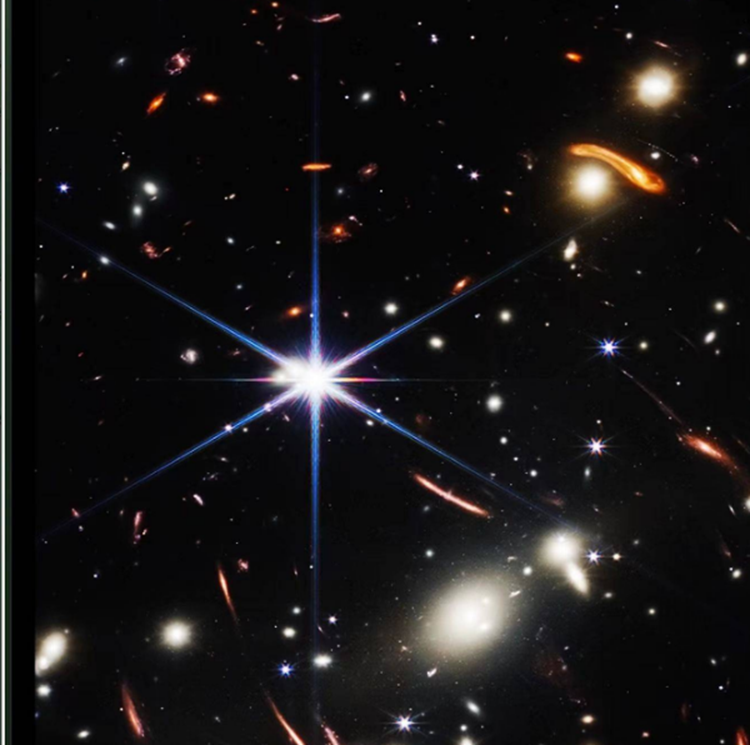
The starburst in the picture taken by JWST
Picture from: First Images from the James Webb Space Telescope | NASA

The starburst in the picture taken by JWST
Picture from: First Images from the James Webb Space Telescope | NASA

Best answer by yuan.chen
Conclusion first, yes!
I use the sample file to demonstrate how to do this:
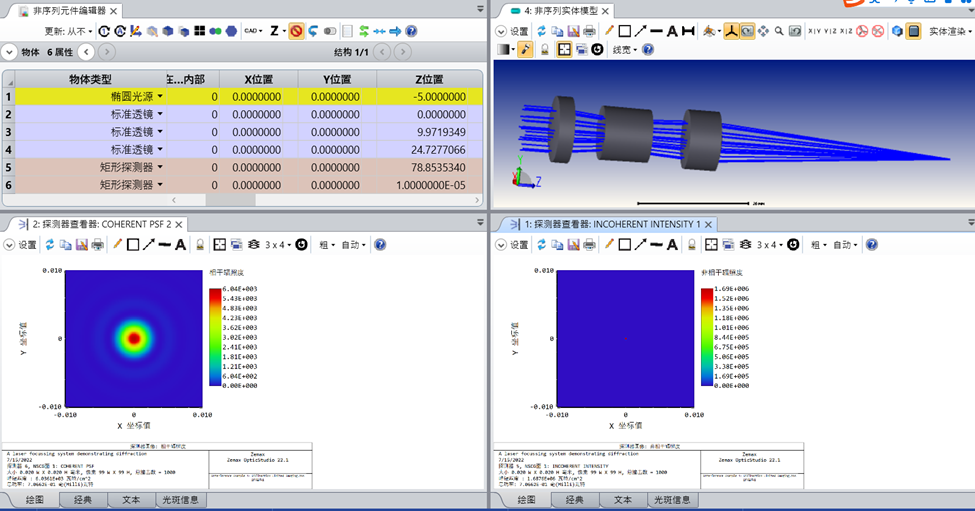
Zemax folder\Samples\Non-sequential\Coherence Interference and Diffraction Interference Example 4- Diffraction Limited Imaging.zos
This article is translated from the post made by Takashi Matsumoto.
ノンシーケンシャルモードでの、レンズ起因の光芒・光条のシミュレーション方法 | Zemax Community
This is what we can when we open this sample file.

Next, we add some modifications.
The most important thing is to create a user defined aperture, the shape is hexagon.
We can find more details in the help file:
The Setup Tab > Editors Group (Setup Tab) > Lens Data Editor > Surface Properties > Aperture (surface properties) > User Defined Apertures and Obscurations
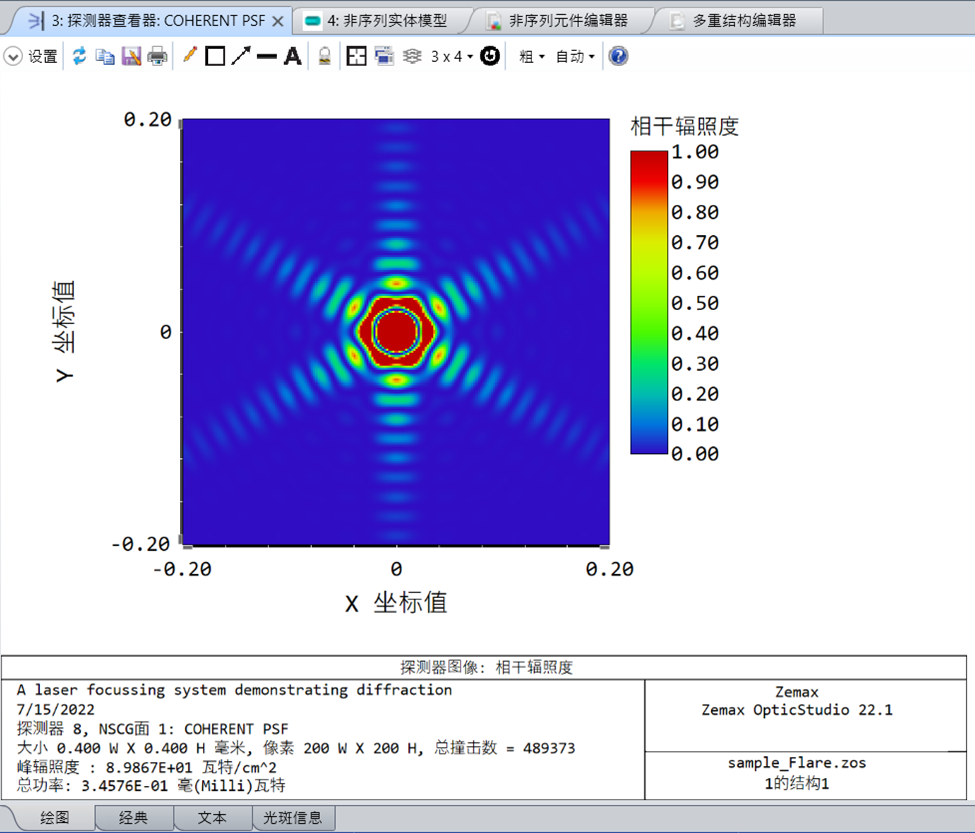
A high analysis ray number and a pixel size of 1um can ensure that the signal is not buried in the noise.
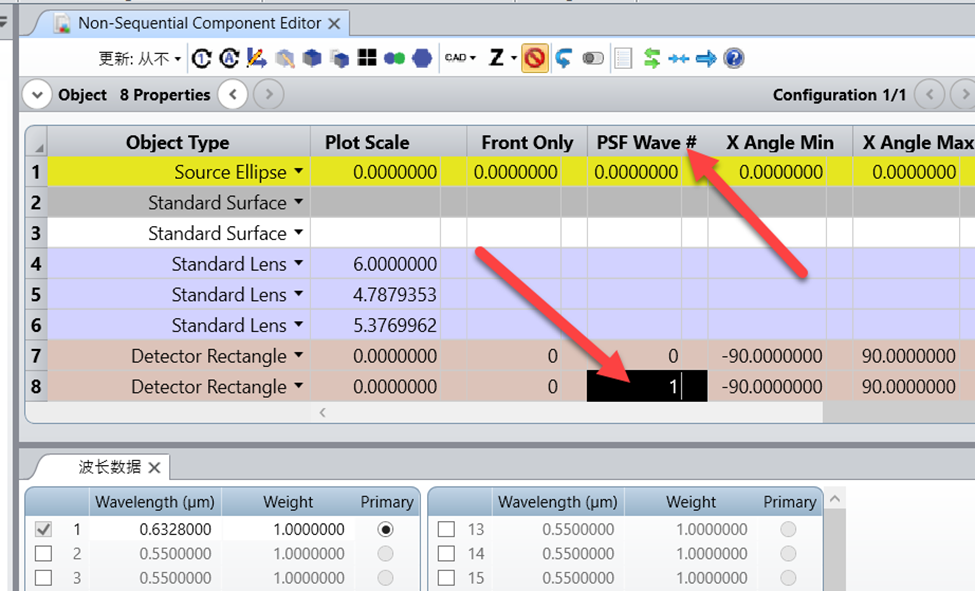
To get this result, we must use the detector rectangle and set the PSF mode wavenumber.
We can find more details in the help file:
The Setup Tab > Editors Group (Setup Tab) > Non-sequential Component Editor > Non-sequential Detectors > Detector Rectangle Object

By doing these, we can obtain a starburst like the one in JWST.


Enter your E-mail address. We'll send you an e-mail with instructions to reset your password.