
Zemax OpticStudio now supports TM-25 as well as saving phase, electric field in ray files

  • 11 July 2024
  • 2 replies
  • 73 views

Hi everyone,


Here is a post to collect any of your feedback or questions about the new feature of TM-25 rayfiles.

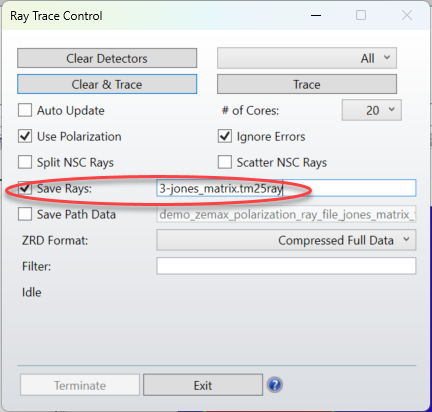
In Zemax OpticStudio 24 R2.0, we support TM-25 rayfiles with extension filename .tm25ray. You can access this file format with following functions:

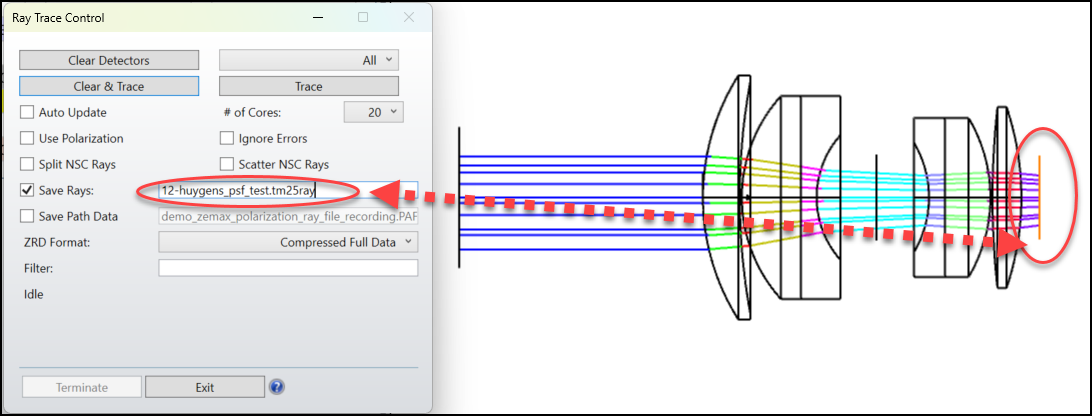
* Save Rays in Raytrace Dialog
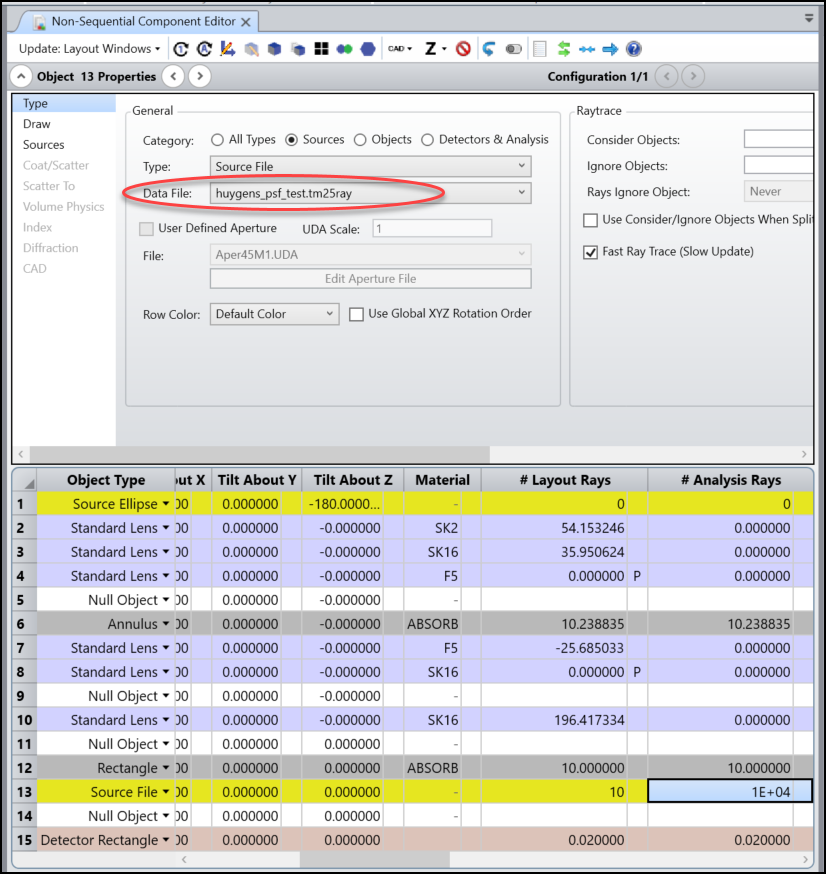
* Source File Object

* Save Rays On Object in Ray Database Viewer

* Source Directivity Plot

* Source Polar Plot

* Flux vs. Wavelength

* Light Source Analysis (sequential mode)


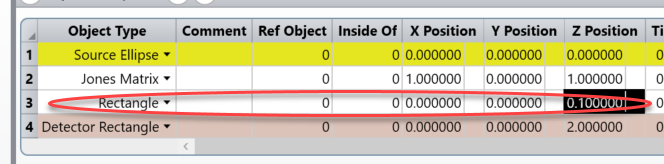
In addition, when the TM-25 rayfile is exported by Zemax OpticStudio, now the phase and complete electric field (Ex, Ey, Ez) will be exported too. This is important when the rayfile is supposed to be used in a polarization-sensitive applications or coherent analysis.


It’s highly suggested you read the new content in Help File in this section. The Setup Tab » Editors Group (Setup Tab) » Non-sequential Component Editor » Non-sequential Sources » Source File for more information.


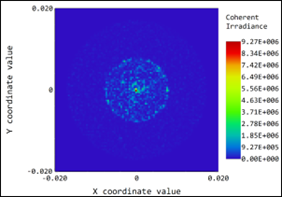
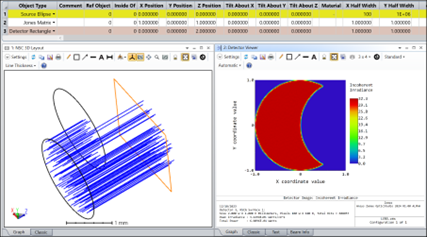
In below, we are going to provide a couple of examples to demo the support of phase and electric field.


Please feel free to share your thoughts or comments. Thank you!

2 replies

Userlevel 6
Badge +2

Here is a quick demo about the phase information saved in TM-25 rayfile.

  1. Download attached file.
  2. Open “demo_zemax_polarization_ray_file_verify.zar”
  3. Run raytracing and save rays on object 12.
  4. Open “demo_zemax_polarization_ray_file_replay.zar”
  5. Confirm you load the ray file we generated.
  6. Run raytracing and see the Huygens PSF.


  7. You can open “demo_zemax_polarization_ray_file_verify.zar" to check this matches to the result if we purely simulate in original system.
  8. Here is the result if you try to use other rayfile format (.sdf or .dat) to repeat this process.


Userlevel 6
Badge +2
  1. Open “demo_zemax_polarization_ray_file_jones_matrix_test.zar”.
  2. It’s a simple system as below.
  3. Create a Rectangle with ZPosition = 0.1
  4. Trace and save rays on this object.

  5. Turn off the original source and load the generated new rayfile.


  6. Confirm you see the same simulation result!

Reply